


Deploy CDM through Group Policy using the MSI file
To deploy CDM through Group Policy, you’ll need to create a Group Policy Object (GPO) and then configure it for distribution. This method only applies to domain-joined environments. Before you begin, you’ll need to do the following:
-
Download the CloudDriveMapper.msi file from the Downloads page in Iris to a central storage location such as a file server. Depending on your environment, the Downloads page includes an MSI file for both x64 and ARM64 devices.
-
Ensure you’ve installed Microsoft .NET Desktop Runtime 8 before deploying CDM, as the MSI file can’t install it at the beginning of the installation process due to the way its execution sequence works.
-
Ensure you've deployed the CDM license key before deploying CDM.
-
Press Windows + S on your keyboard to open the search box.
-
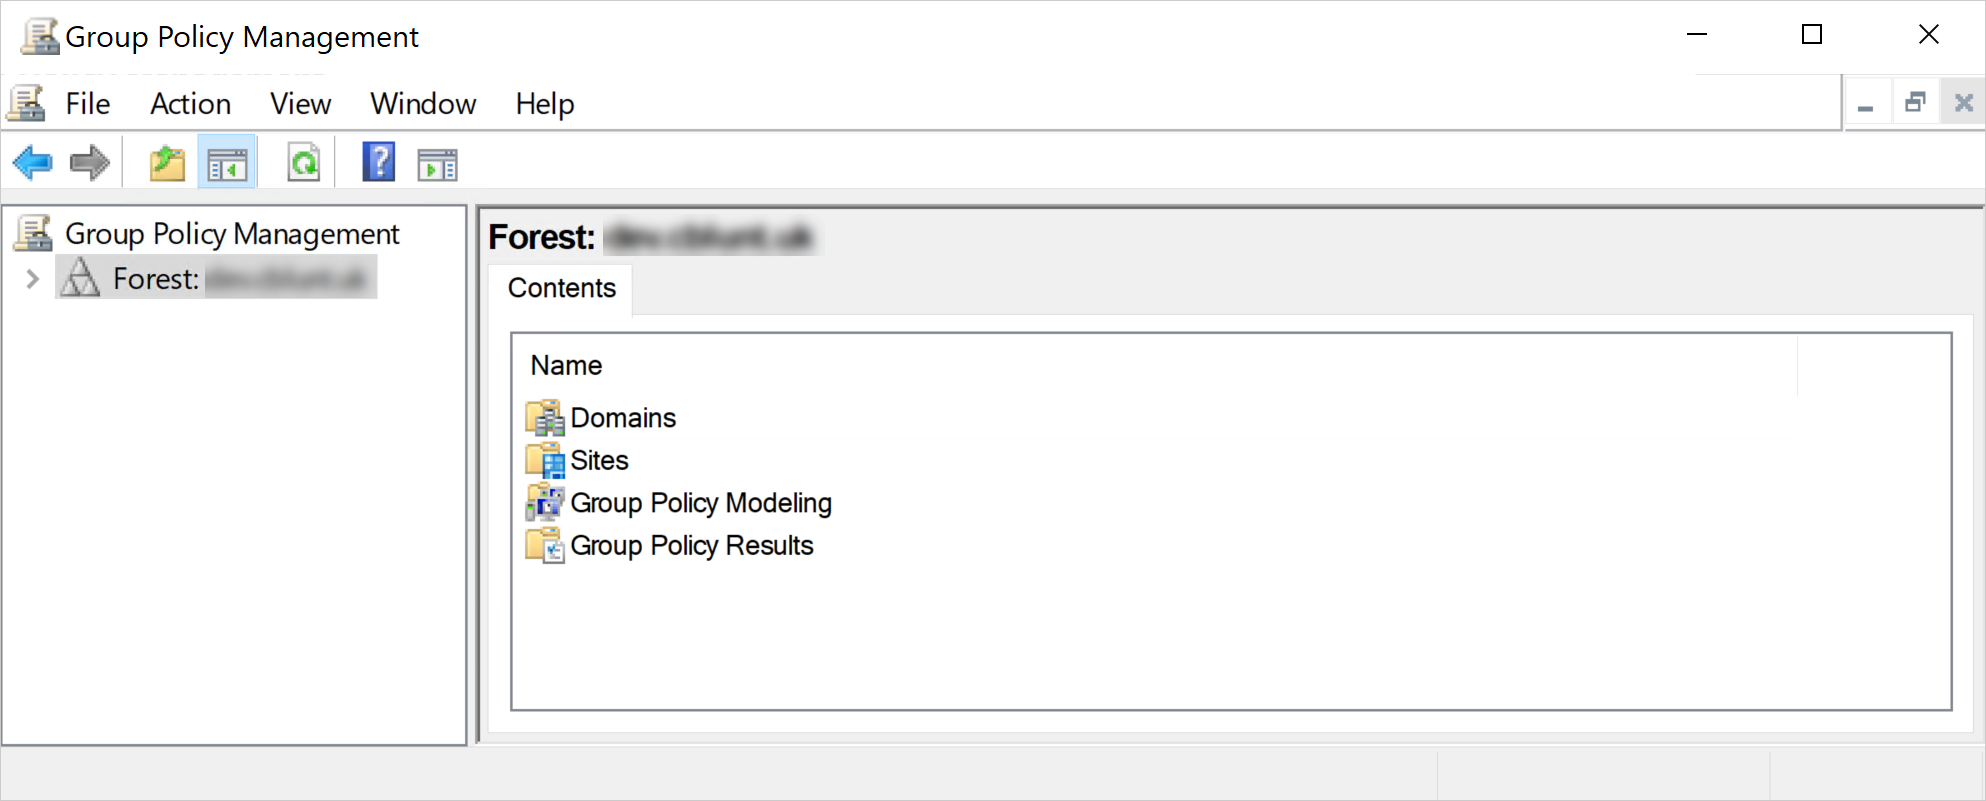
Type Group Policy Management in the search box, then press Enter to launch it.

-
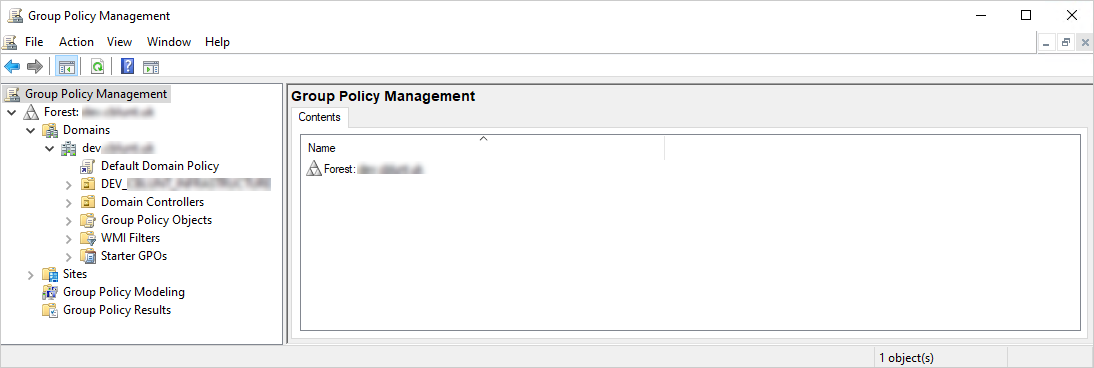
Double-click the forest to expand it, followed by Domains, and then the desired domain.
-
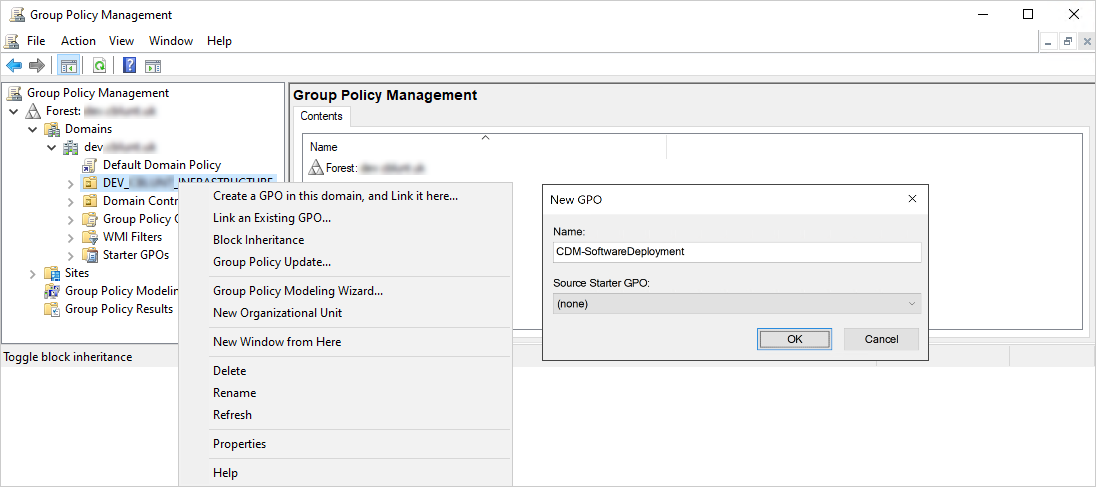
Right-click the organizational unit for which you want to create the GPO, select Create a GPO in this domain, and Link it here… from the shortcut menu. The New GPO dialog box appears.
-
Enter a name for the new GPO in the Name box and select OK. The new GPO will appear in the navigation pane on the left under the organizational unit.
-
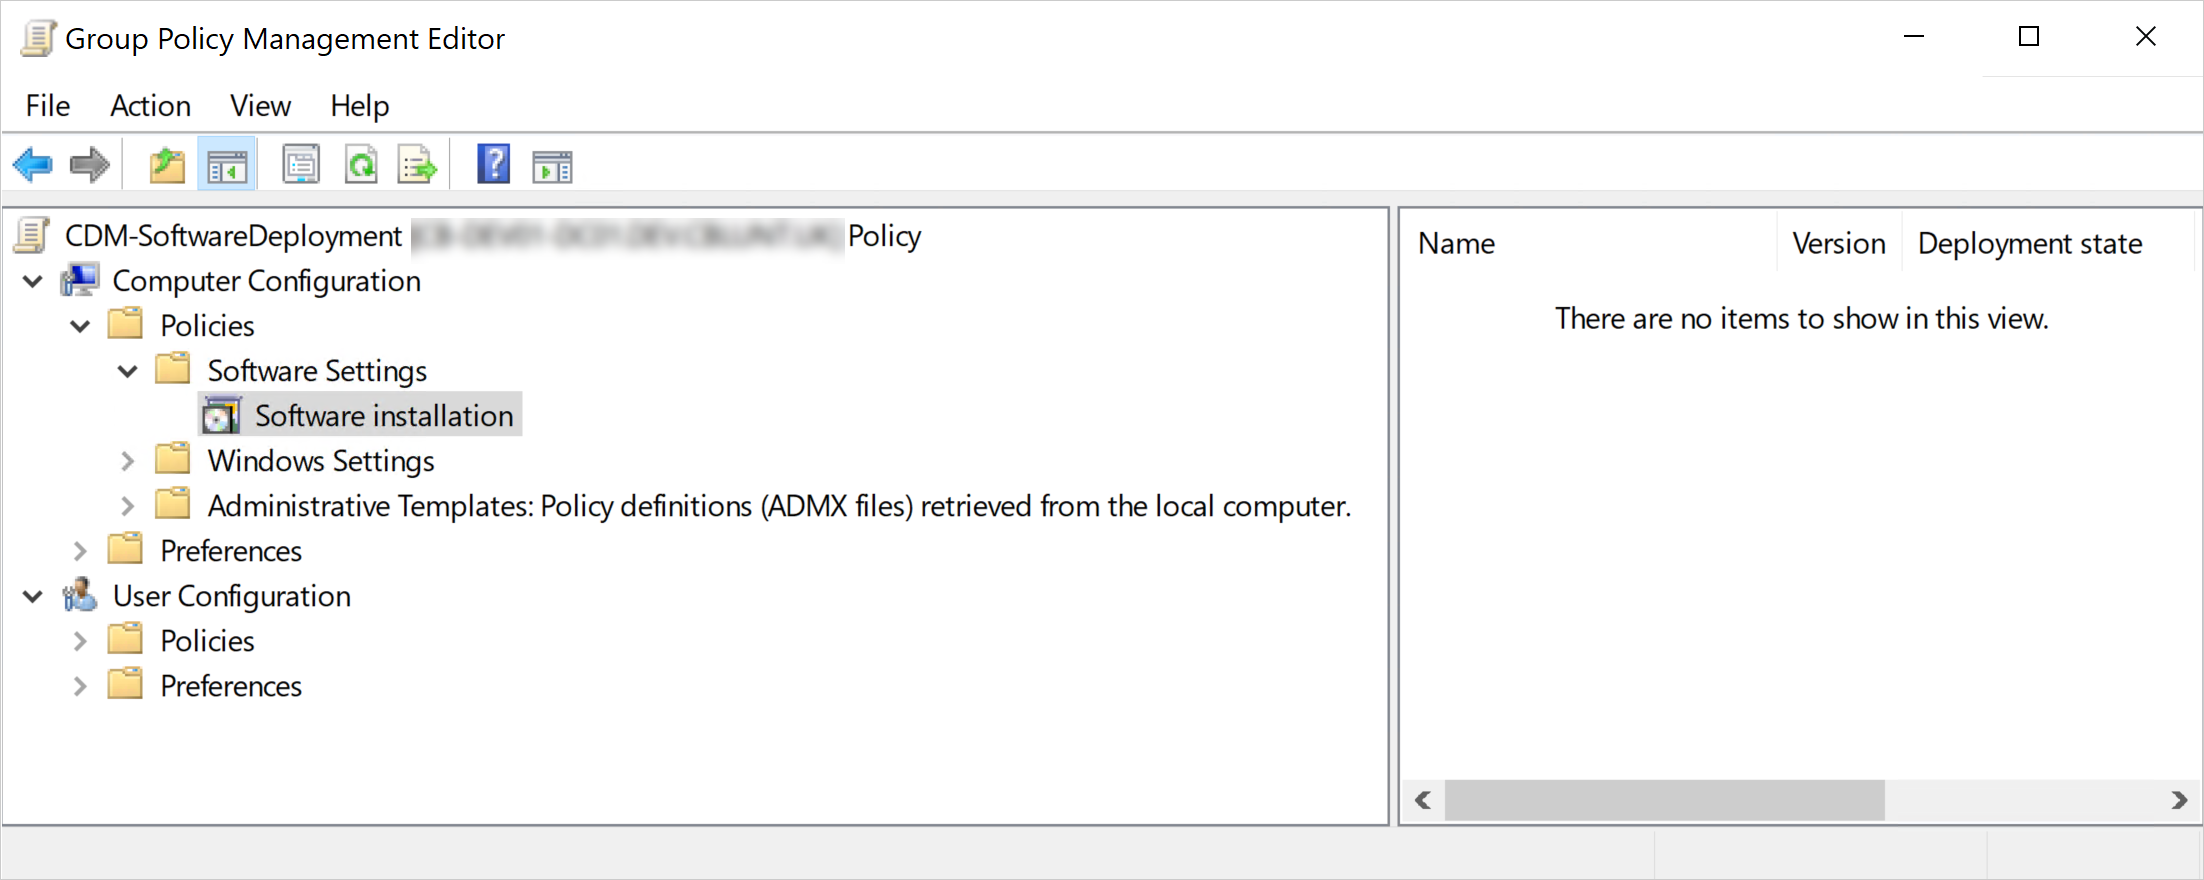
Right-click the new GPO and select Edit… from the shortcut menu to configure it for distribution. The Group Policy Management Editor console appears.
-
Double-click the Policies branch under Computer Configuration to expand it.
-
Double click the Software Settings branch under Policies to expand it, then select Software installation.
-
Right-click Software installation and select New > Package… from the shortcut menu. The Open dialog box appears.
-
Browse to the location where you saved the CDM Microsoft Software Installer (MSI) file (CloudDriveMapper.msi), select it, and click Open. The Deploy Software dialog box appears.
-
Ensure that the Assigned option is selected, then select OK to complete deploying CDM through Group Policy using the MSI file.
